import torch
import torch.nn.functional as F
# 创建一个 5x5 的二维张量作为输入
input = torch.tensor([[1, 2, 0, 3, 1],
[0, 1, 2, 3, 1],
[1, 2, 1, 0, 0],
[5, 2, 3, 1, 1],
[2, 1, 0, 1, 1]])
# 创建一个 3x3 的二维张量作为卷积核
kernel = torch.tensor([[1, 2, 1],
[0, 1, 0],
[2, 1, 0]])
# 重塑 input 和 kernel 张量以符合 conv2d 的期望输入格式
# conv2d 需要输入的形状为 (batch_size, channels, height, width)
input = torch.reshape(input, (1, 1, 5, 5))
kernel = torch.reshape(kernel, (1, 1, 3, 3))
# 打印 input 和 kernel 的形状以确认变换
print(input.shape) # 输出: torch.Size([1, 1, 5, 5])
print(kernel.shape) # 输出: torch.Size([1, 1, 3, 3])
# 应用 conv2d 函数进行卷积操作,步长为 1
output = F.conv2d(input, kernel, stride=1)
print(output) # 输出卷积结果
# 应用 conv2d 函数进行卷积操作,步长为 2
output2 = F.conv2d(input, kernel, stride=2)
print(output2) # 输出卷积结果
# 应用 conv2d 函数进行卷积操作,步长为 1,同时添加 padding
# padding=1 表示在输入张量的边界添加一圈宽度为 1 的零填充
output3 = F.conv2d(input, kernel, stride=1, padding=1)
print(output3) # 输出卷积结果
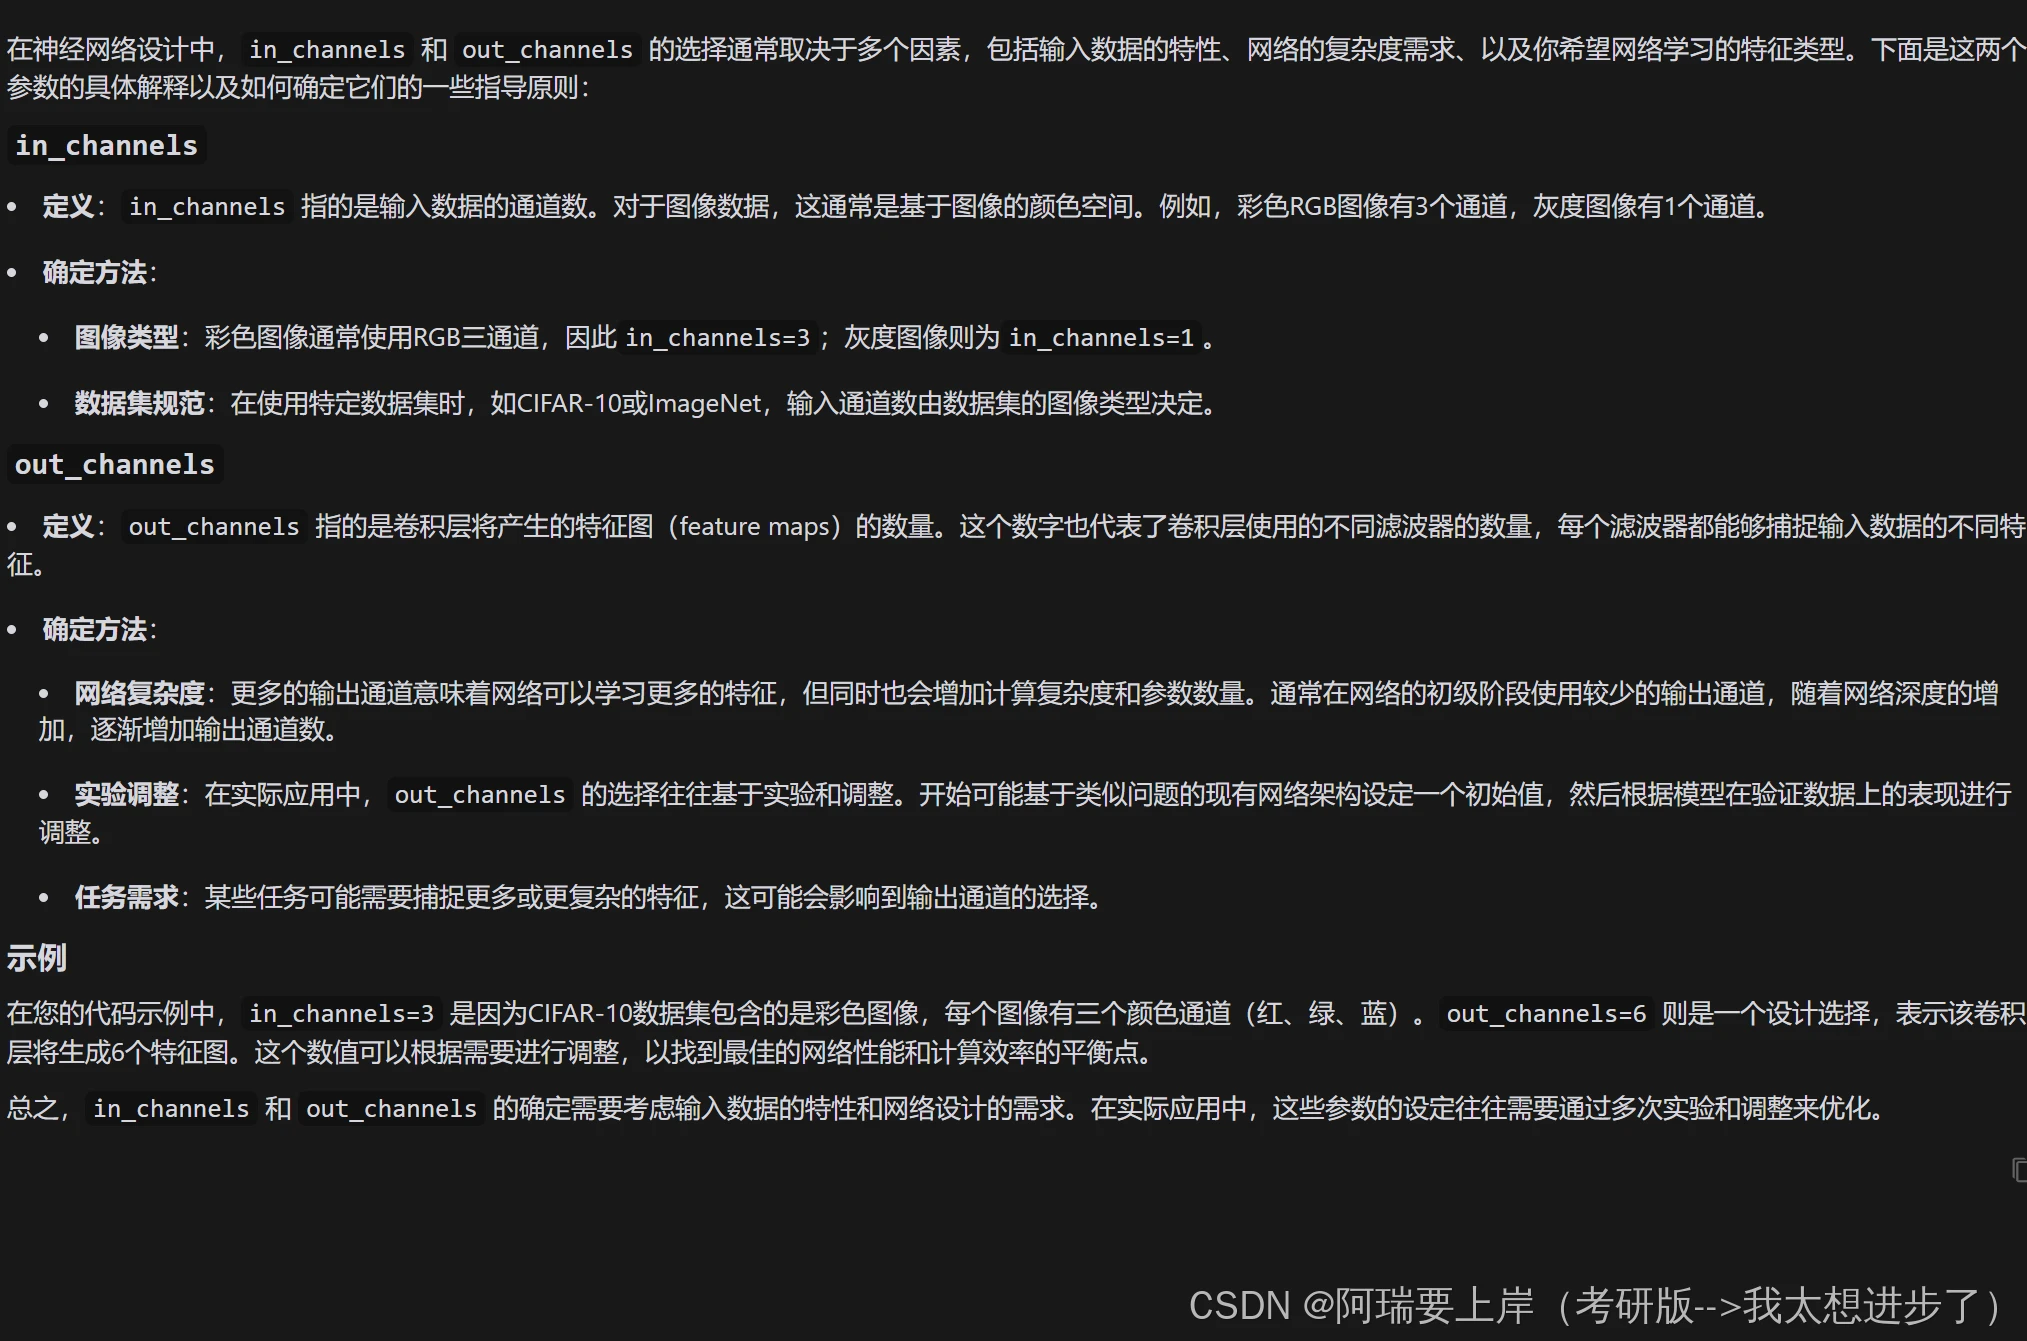
import torch import torchvision from torch import nn from torch.utils.data import DataLoader from torchvision.ops.misc import Conv2d #获取数据 dataset=torchvision.datasets.CIFAR10("https://blog.csdn.net/m0_/article/data",train=False,transform=torchvision.transforms.ToTensor(), download=True) #封装数据,加载数据 dataloader=DataLoader(dataset,batch_size=64) #卷积神经 class CR(nn.Module): def __init__(self): super(CR,self).__init__() #kernel_size 定义卷积核大小 self.conv1=Conv2d(in_channels=3,out_channels=6,kernel_size=3,stride=1,padding=0) def forward(self,x): x=self.conv1(x) return x cr=CR() print(cr)

版权声明:
本文来自互联网用户投稿,该文观点仅代表作者本人,不代表本站立场。本站仅提供信息存储空间服务,不拥有所有权,不承担相关法律责任。
如若内容造成侵权、违法违规、事实不符,请将相关资料发送至xkadmin@xkablog.com进行投诉反馈,一经查实,立即处理!
转载请注明出处,原文链接:https://www.xkablog.com/rgzn-tfkj/71372.html
